Prepare To Deploy Amazon WorkSpaces
Prepare To Deploy Amazon WorkSpaces
- In the AWS Management Console, search for Workspaces
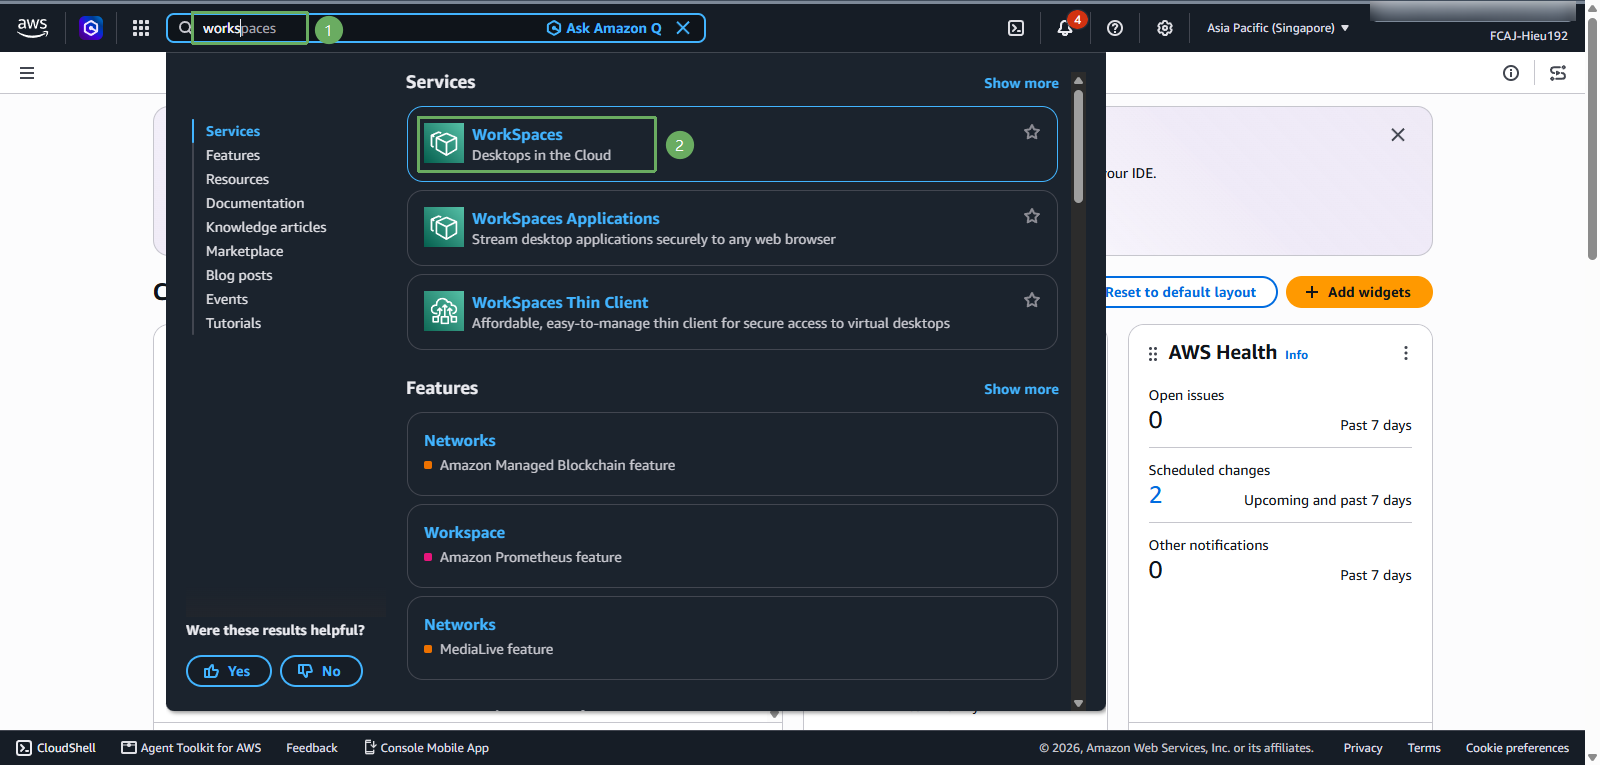
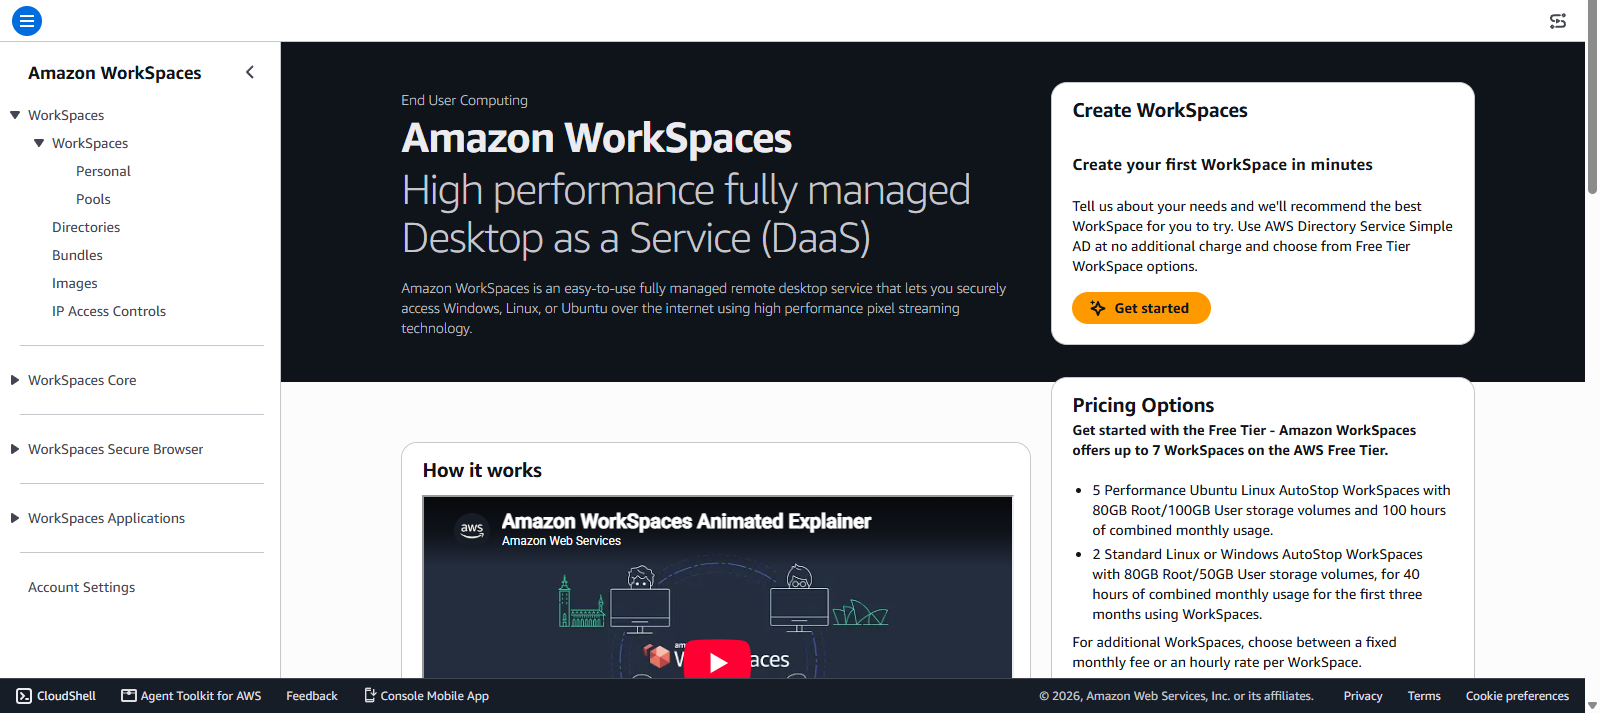
- This is the Amazon Workspaces Management Console
- Go back to the AWS Directory Service Management Console, select the directory you created and write down the Directory ID together with the subnet id of the 2 private subnets. We will need this information in the registration step.
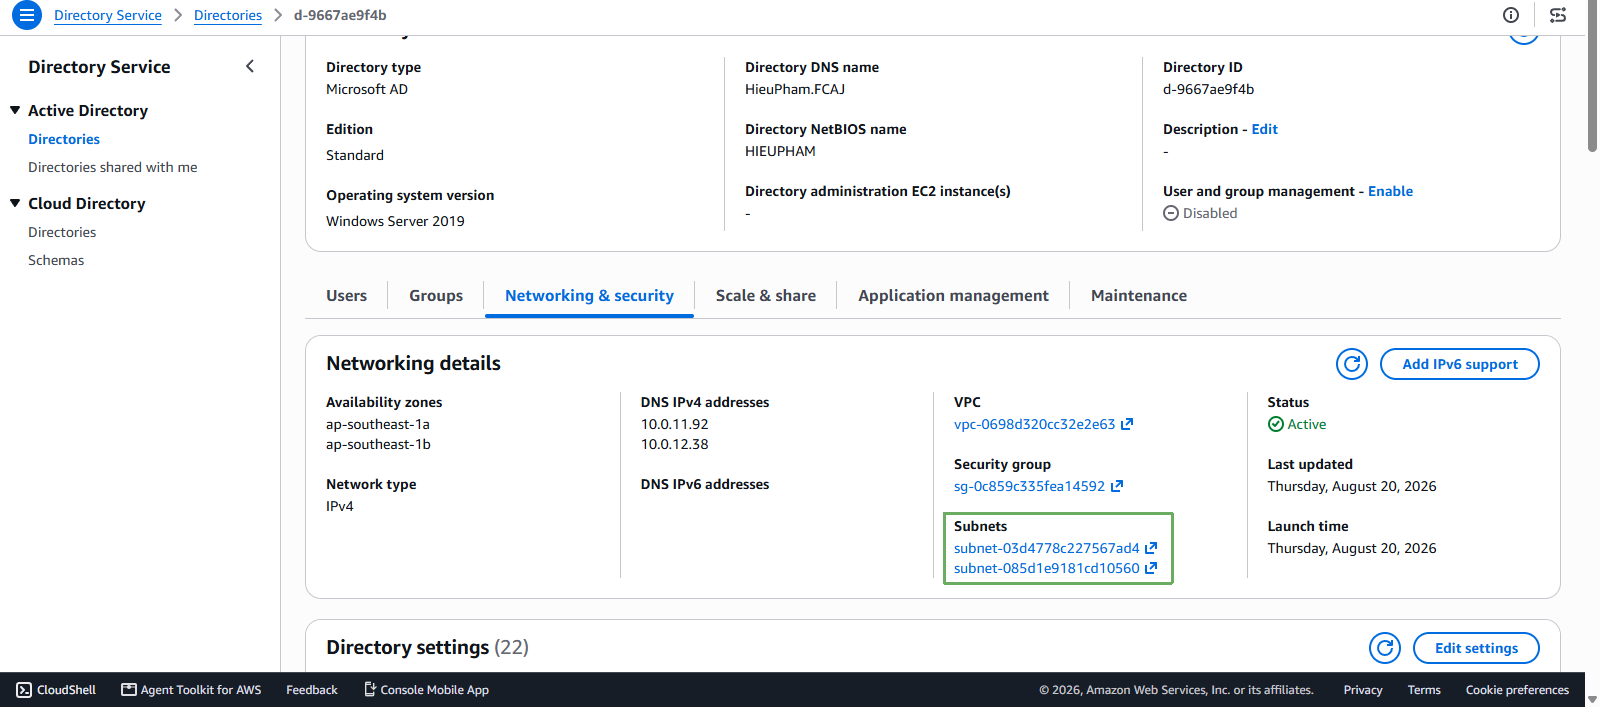
The 2 subnets used for WorkSpaces must be in 2 different Availability Zones and must be AZs that support Amazon WorkSpaces. The list of supported AZ IDs per Region is available at Availability Zones for WorkSpaces Personal. For example, the ap-southeast-1 Region only supports apse1-az1 and apse1-az2. If you pick the wrong AZ, the registration will fail.
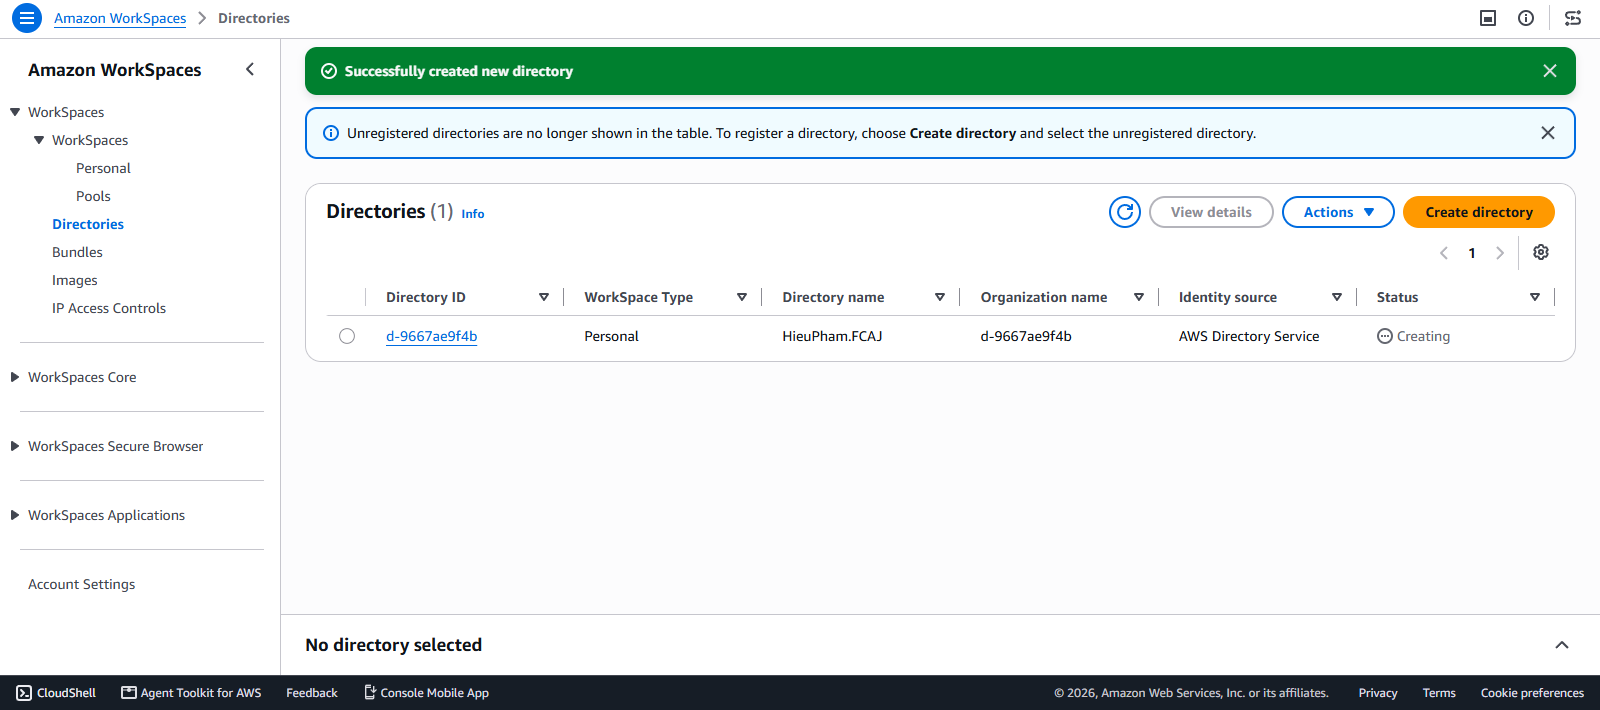
- Open the Amazon WorkSpaces Management Console => In the left menu, expand the WorkSpaces group => choose Directories => Click Create directory
- Use the Create directory button even when the directory already exists, because this is where the registration step lives
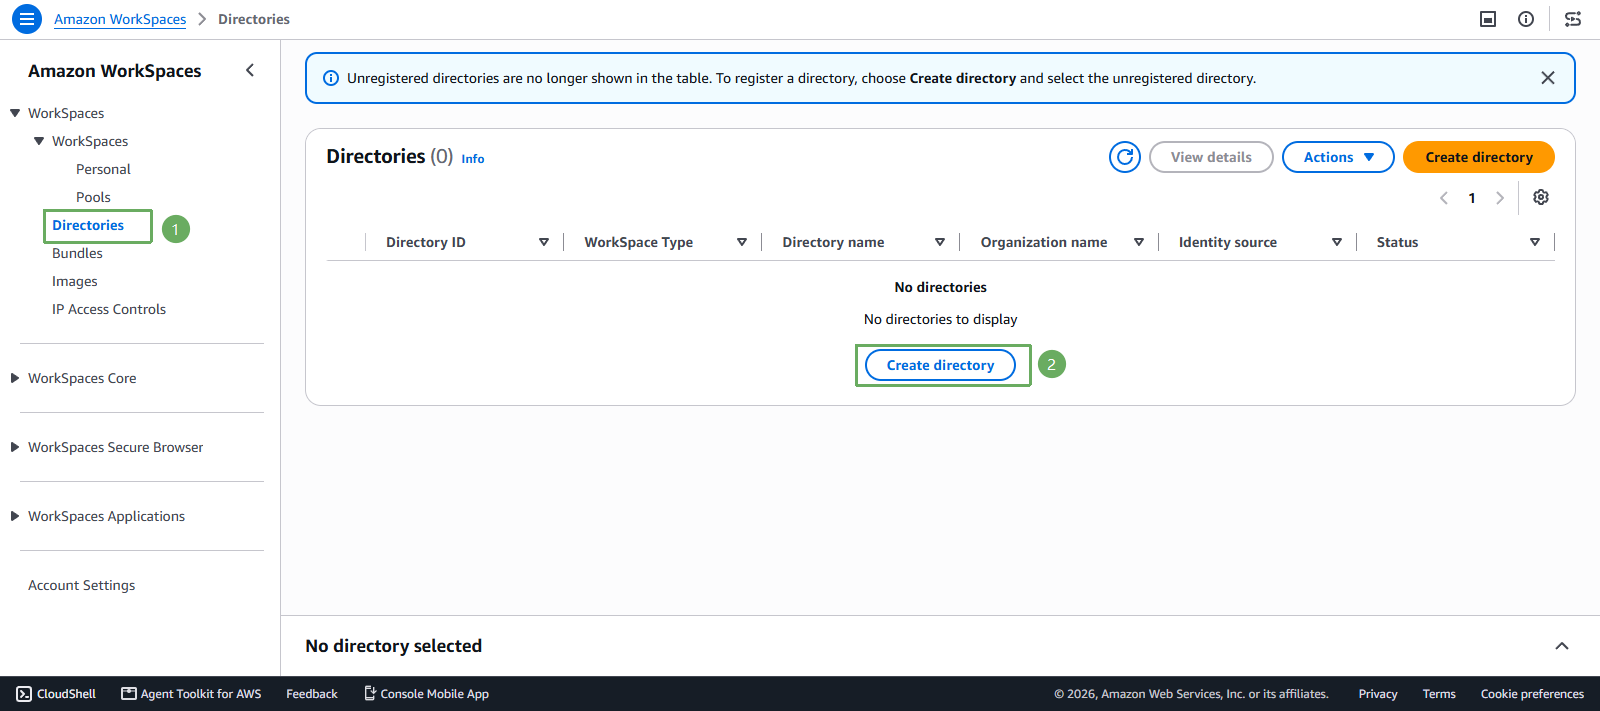
- Use the Create directory button even when the directory already exists, because this is where the registration step lives
- Under WorkSpace device management, choose AWS Directory Service
- AWS Directory Service: WorkSpaces will join the AD domain declared in AWS Directory Service. This is the option used in this lab.
- Microsoft Entra ID: used when you want WorkSpaces to join an Entra ID tenant through Windows Autopilot user-driven mode
- Custom: used when you have your own MDM solution, which requires the MDM agent to be embedded in the image
- Scroll down to Unregistered directories in AWS Directory Service and select the radio button on the row of the directory you prepared
- This table only lists directories that are not registered, so the Registered column shows
False - The Status column must be
Activeand Directory type must beMicrosoft AD - If you do not see the directory, click the refresh icon next to the Delete button, or double check the Region you are in
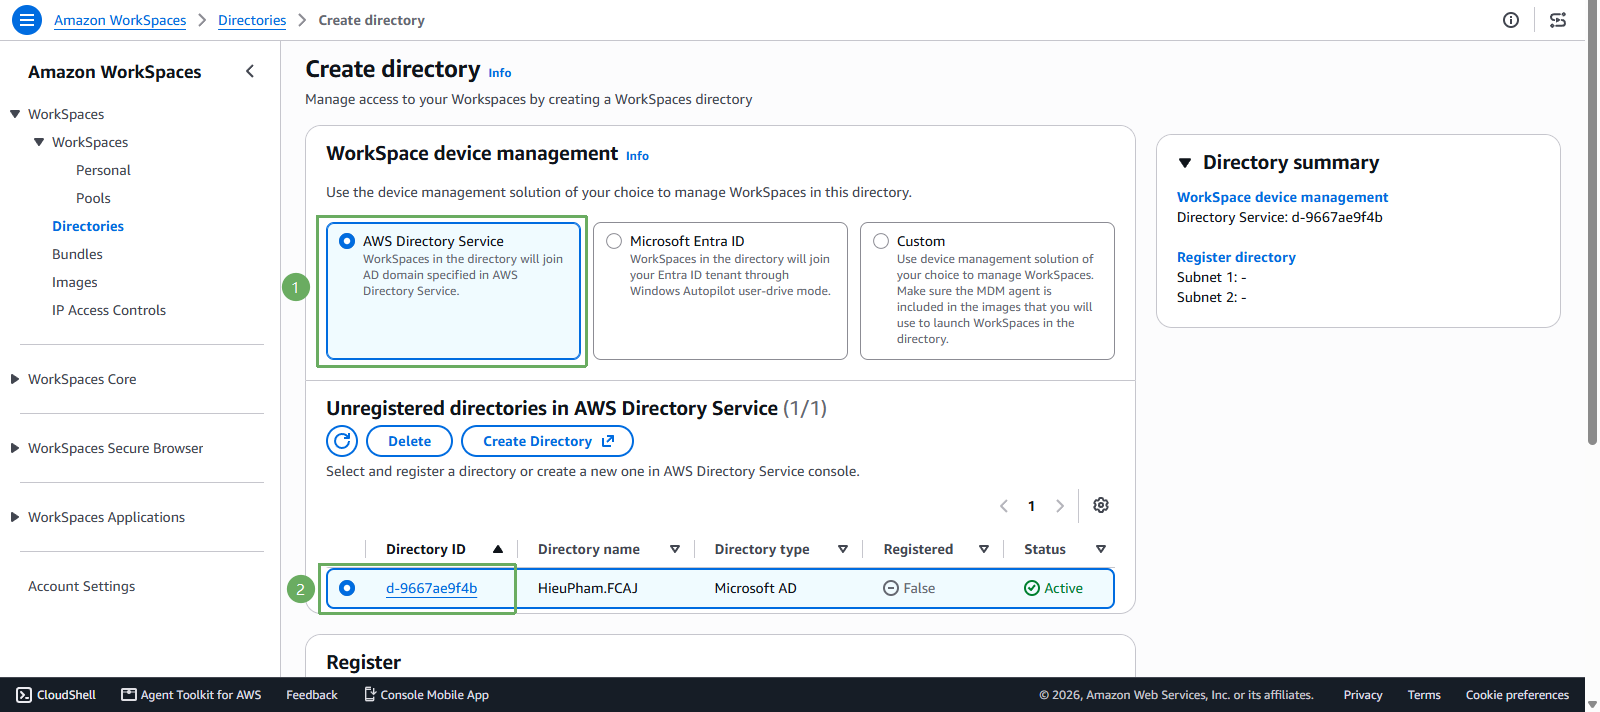
- This table only lists directories that are not registered, so the Registered column shows
The Create Directory button with the new-tab icon inside this table takes you to the AWS Directory Service console to create a new directory — we do not need it because the directory already exists. The Delete button also deletes the directory in Directory Service, so be careful when clicking it.
- Scroll down to the Register section and choose Subnet 1 and Subnet 2 in your VPC. These are the 2 subnets your WorkSpaces will be launched into.
- Choose the 2 private subnets you wrote down in step 3
- The 2 subnets must be in 2 different Availability Zones
- For Enable Self Service Permissions:
- Choose Yes if you want to let users rebuild their WorkSpace, change volume size, compute type and running mode. Note that this option may affect your cost.
- Choose No otherwise
- Double check the Directory summary panel on the right: the Directory Service, Subnet 1 and Subnet 2 rows must have values and no longer show
- - Click Register
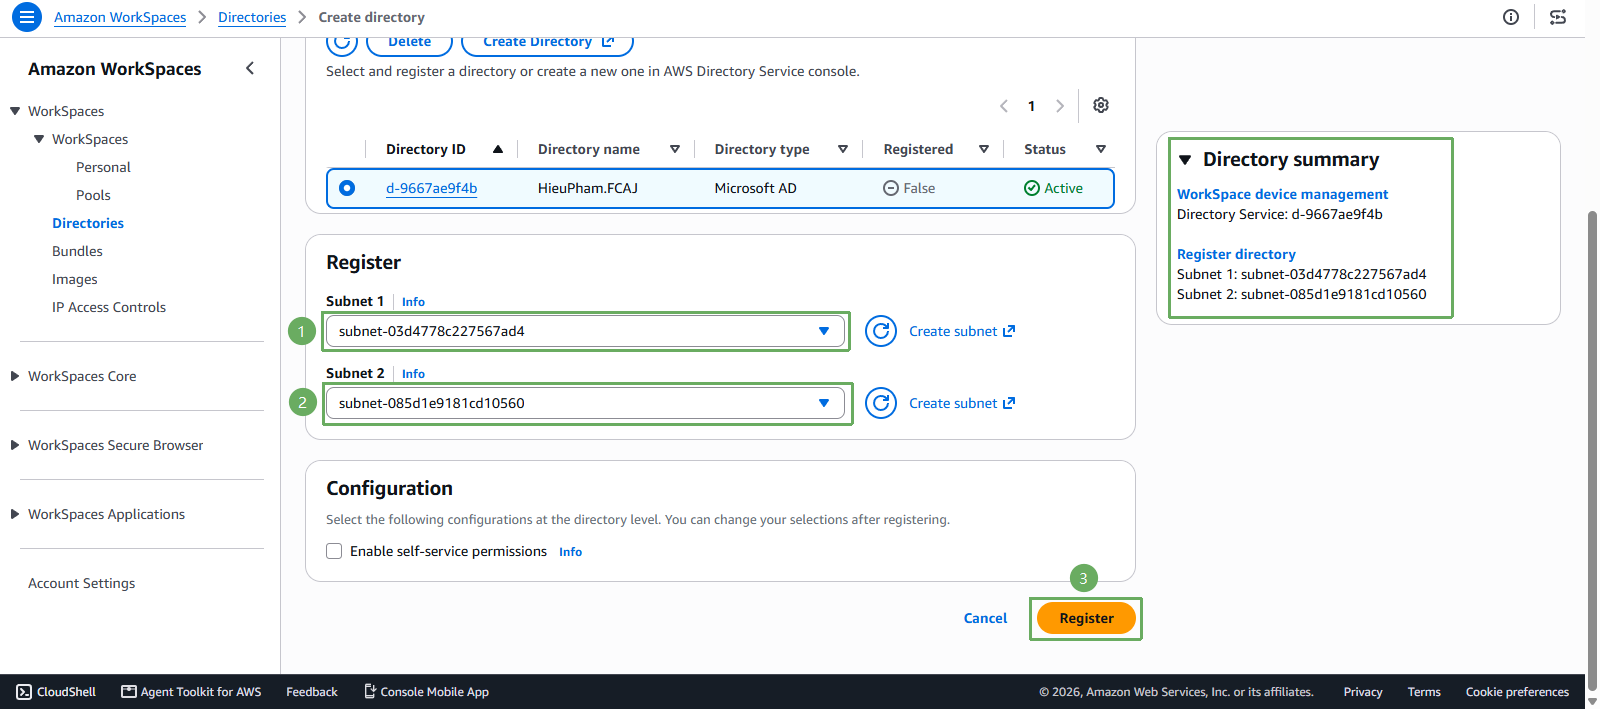
- Wait for the Registered column to change from
REGISTERINGtoYes. At that point the directory is ready for deploying WorkSpaces.